2025년 1월 17일, 오늘은 "게시판 목록" 기능을 JSP 기반 웹 프로젝트에 구현하는 과정을 공유합니다. 이 게시글은 JSP와 Java를 활용한 페이징 처리 및 관리자 권한 처리 방법을 포함하고 있습니다.
1. 게시판 목록 JSP 작성
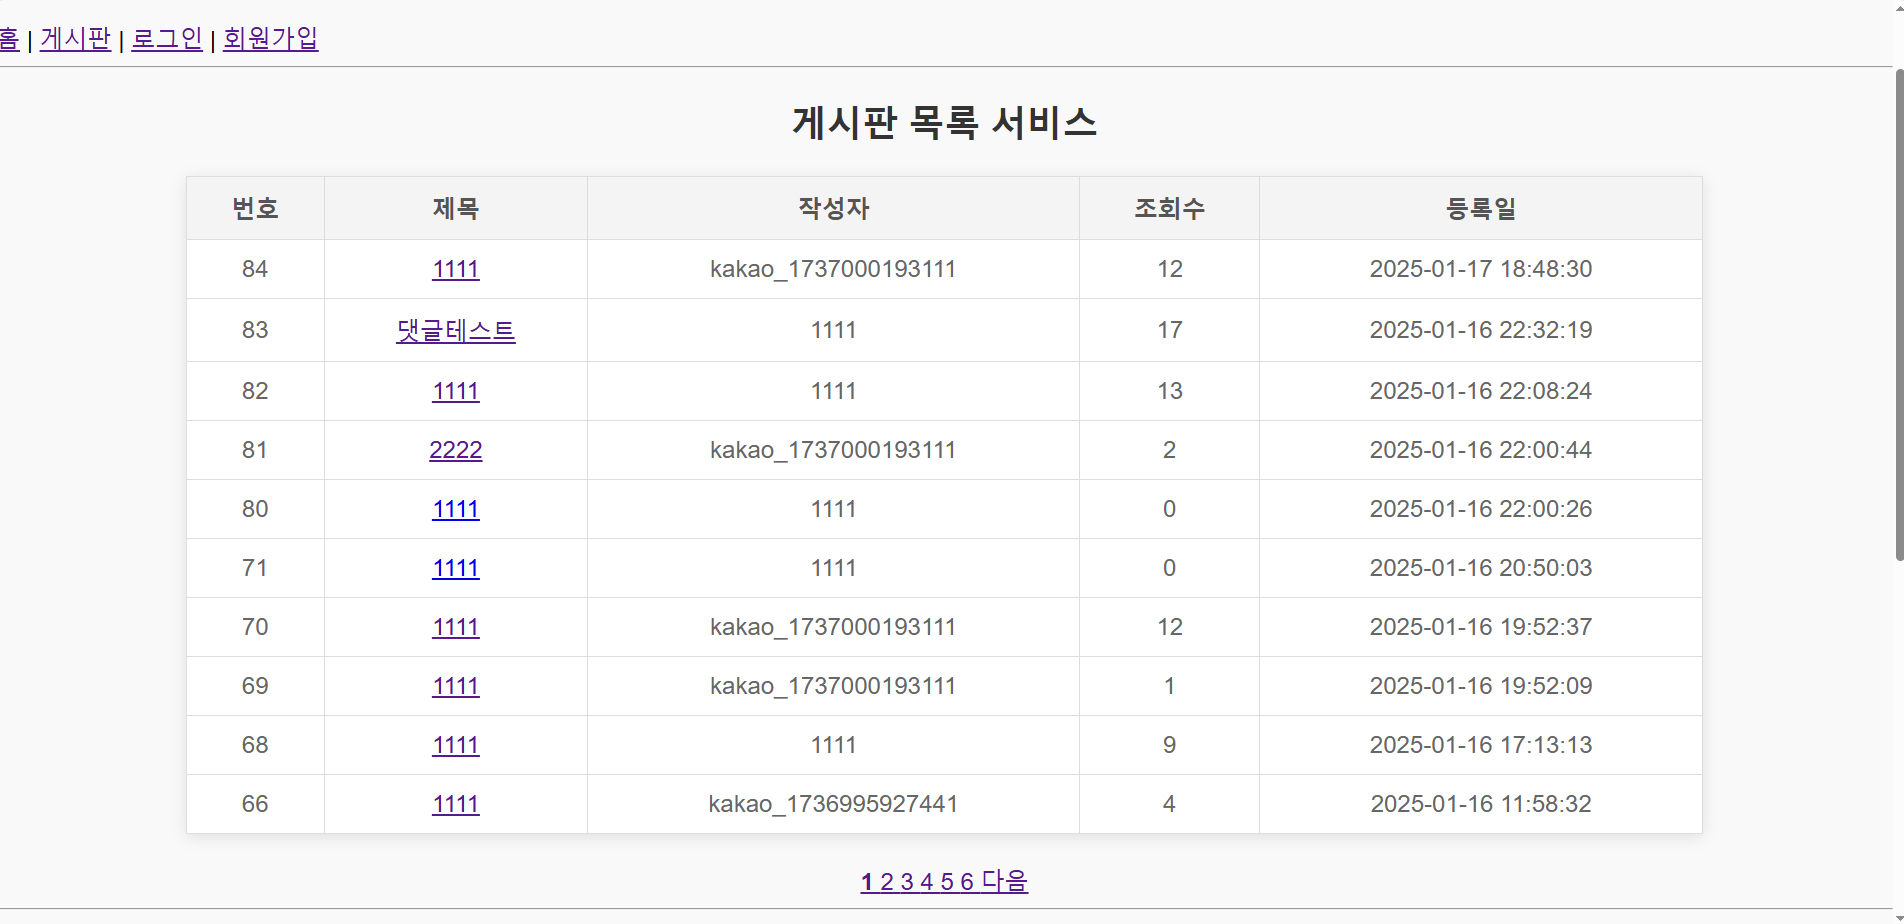
list.jsp 파일에서는 게시판 글 목록을 출력하고, 페이징과 관리 기능을 처리합니다.
코드:
<h2>게시판 목록 서비스</h2>
<table border="1">
    <tr>
        <th>번호</th>
        <th>제목</th>
        <th>작성자</th>
        <th>조회수</th>
        <th>등록일</th>
        <!-- 관리자일 때만 "관리" 칸 추가 -->
        <c:if test="${loginedMember.role == 'ADMIN'}">
            <th>관리</th>
        </c:if>
    </tr>
    <c:forEach items="${ boardList }" var="boardVO">
        <tr>
            <td>${ boardVO.no }</td>
            <td><a href="${pageContext.request.contextPath}/board/detail.do?no=${boardVO.no}">${boardVO.title}</a></td>
            <td>${ boardVO.writer }</td>
            <td>${ boardVO.viewCnt }</td>
            <td>${ boardVO.regDate }</td>
            <!-- 관리자일 때만 삭제 버튼 추가 -->
            <c:if test="${loginedMember.role == 'ADMIN'}">
                <td>
                    <form action="${pageContext.request.contextPath}/board/adminDeleteBoard.do" method="post" style="display:inline;">
                        <input type="hidden" name="no" value="${boardVO.no}">
                        <button type="submit" onclick="return confirm('정말 삭제하시겠습니까?');">삭제</button>
                    </form>
                </td>
            </c:if>
        </tr>
    </c:forEach>
</table>

<!-- 페이지 네비게이션 -->
<div style="text-align: center; margin-top: 20px;">
    <c:if test="${currentPage > 1}">
        <a href="?page=${currentPage - 1}">이전</a>
    </c:if>
    <c:forEach begin="1" end="${totalPages}" var="page">
        <a href="?page=${page}" style="font-weight: ${page == currentPage ? 'bold' : 'normal'};">
            ${page}
        </a>
    </c:forEach>
    <c:if test="${currentPage < totalPages}">
        <a href="?page=${currentPage + 1}">다음</a>
    </c:if>
</div>
2. 게시판 목록 컨트롤러 작성
BoardListController는 페이징 처리와 데이터를 JSP에 전달하는 역할을 합니다.
주요 흐름:
- 페이지 번호 확인:
- 요청된 페이지 번호가 없으면 기본값으로 1 설정.
- 페이징 범위 계산:
- start와 end를 계산하여 필요한 범위의 데이터를 가져옵니다.
- 데이터 가져오기:
- 서비스 계층을 통해 DB에서 데이터를 조회.
- JSP로 데이터 전달:
- 요청 속성에 데이터를 담아 JSP로 전달.
코드:
@Override
public String handleRequest(HttpServletRequest request, HttpServletResponse response) throws Exception {

    int currentPage = 1;
    int itemsPerPage = 10;

    String pageParam = request.getParameter("page");
    if (pageParam != null && !pageParam.isEmpty()) {
        currentPage = Integer.parseInt(pageParam);
    }

    int start = (currentPage - 1) * itemsPerPage + 1;
    int end = currentPage * itemsPerPage;

    Map<String, Object> params = new HashMap<>();
    params.put("start", start);
    params.put("end", end);

    List<BoardVO> boardList = boardService.getBoardsByPage(params);

    int totalCount = boardService.getTotalBoardCount();
    int totalPages = (int) Math.ceil((double) totalCount / itemsPerPage);

    request.setAttribute("boardList", boardList);
    request.setAttribute("currentPage", currentPage);
    request.setAttribute("totalPages", totalPages);

    return "/jsp/board/list.jsp";
}
3. 데이터베이스 연동
MyBatis 쿼리:
- getBoardsByPage: 페이지 범위 내의 게시물을 가져옵니다.
- getTotalBoardCount: 전체 게시물 개수를 가져옵니다.
board.xml 코드:
<!-- 페이징 처리를 위한 게시물 조회 -->
<select id="getBoardsByPage" parameterType="map" resultType="BoardVO">
    SELECT * FROM (
        SELECT no, title, writer, view_cnt AS viewCnt, reg_date AS regDate,
               ROW_NUMBER() OVER (ORDER BY no DESC) AS row_num
        FROM t_board
    )
    WHERE row_num BETWEEN #{start} AND #{end}
</select>

<!-- 총 게시물 개수 조회 -->
<select id="getTotalBoardCount" resultType="int">
    SELECT COUNT(*) FROM t_board
</select>
4. 요약
오늘은 JSP 웹 프로젝트에 게시판 목록과 페이징 기능을 구현했습니다. JSP, 컨트롤러, MyBatis를 활용해 데이터 조회부터 화면 출력까지의 과정을 정리했습니다. 궁금한 점이 있다면 댓글로 남겨주세요. 😊
'My HomePage (board project)' 카테고리의 다른 글
| 5회차 : 티스토리 블로그: 목록 페이징 구현 공부 기록 (2025-01-21) (1) | 2025.01.22 |
|---|---|
| 2025-01-20 : 카카오 로그인 구현 정리 (0) | 2025.01.20 |
| Woo Do Yeon의 개발자 홈페이지 업그레이드 (1) | 2025.01.20 |
| 카카오 로그인 구현 튜토리얼 (0) | 2025.01.18 |
| "기본 게시판 프로젝트에서 학생 청원 사이트로! 개발 과정 공유" (0) | 2025.01.12 |